In-ground irrigation sprinkler systems in cold climates need to be winterized at the end of each season to reduce the risk of damage from freezing water.
The winterization process typically involves turning off the water supply, and clearing any residual water from the system. It is often performed by irrigation system technicians and costs between $50 – 200 per winterization depending on the system you have.
For those interested in doing it yourself, winterizing most residential irrigation systems should fall within the comfort zone of many DIYers, and spares you the cost and hassle of this annual service call.
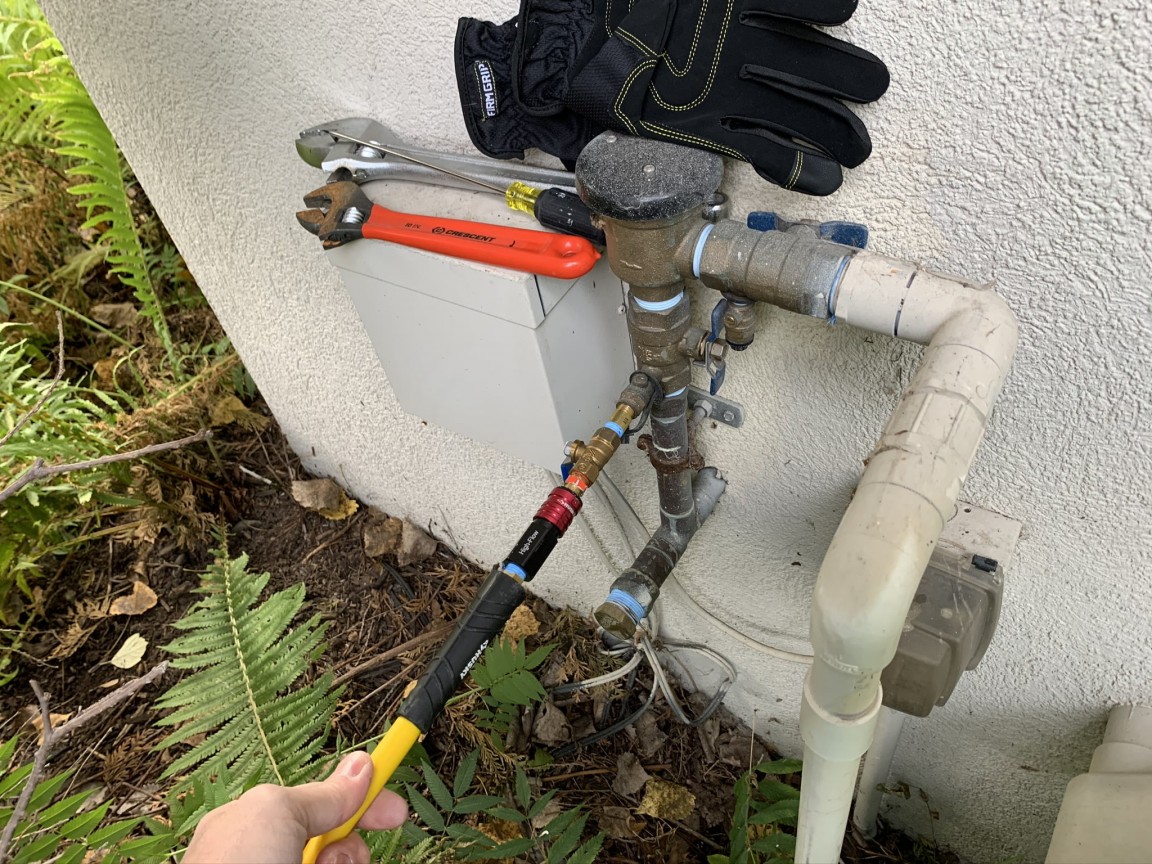
How In-ground Irrigation Sprinkler Systems Are Winterized
For most residential irrigation systems, water is removed for winterization using one of two methods; passive draining or compressed air.
If your system has a low point drain valve, you may be able to use the passive drainage method to winterize your system. This technique relies on gravity and properly placed low-point drains to empty the system of water. If you use this passage drain method you will also need to manually lift each sprinkler head to drain them of water.
If you choose to manually drain your system, you should have a detailed understanding of your system design and the location of all low-point drains. Manually draining your sprinkler system is probably more likely to result in residual system water and the potential for freeze damage compared to using compressed air to clear your system.
Using compressed air is the most common method to winterize sprinkler systems and probably safer in terms of completeness of removing residual irrigation system water. This method uses an air compressor attached to the main supply pipe for the irrigation system to move compressed air through each sprinkler zone and clear water from the system. This method is commonly used, but comes with some cautions.
To safely and adequately clear your irrigation system using compressed air consider these points:
- Air compressor should have adequate air flow volume (CFM) for your system size (generally 5 – 20+ CFM (cubic feet per minute). Many suggest dividing the GPM (gallons per minute) rating of a system zone by 7.5 to obtain an adequate compressor CFM rating.
- Set compressor pressure regulator to a max of 50 psi for flexible tubing systems and 80 psi for hard piped systems. I use 40 psi for my flexible tubing system.
- Some flow sensors and sprinkler heads can be damaged by compressed air – check with your component manufacturer
In addition to clearing the underground lines and sprinkler heads of water, to fully winterize your system you will need to turn off water supply to the system and drain the supply pipe from the house to the irrigation connection.
Should You Winterize Your Sprinkler System Yourself?
Given the wide variation of irrigation systems and system to system differences, the answer really depends on the complexity of your system and your desire to do it yourself.
The benefits of doing it yourself include money savings and time efficiency. The potential risks include damage to the system and its components.
I was a bit hesitant initially to winterize our sprinkler system myself, but after watching the technician winterize our system the season before, I felt fairly confident I could do it myself.
Our system did not seem to require removing flow sensors or opening low-point drains. The tech that winterized our system by just cleared each zone with compressed air, and that was it.
If you decide to winterize your own system, it may be wise to obtain detailed information regarding the build and components within your system and their potential for damage if using compressed air. Another option is to have a qualified service perform the winterization, while you note the steps they used and any additional measure they performed on your system (like removing flow sensors) during the winterization process. Then try it next year yourself.
I know for my system, I haven’t had any issues after winterizing it myself using a modest 5 CFM compressor I bought at HomeDepot. For me the time savings and flexibility of doing it myself far outweigh my concerns of the potentially damaging the system.
If you come to the same conclusion, the following is an overview of how I winterize my sprinkler system.
OVERVIEW | Winterize Your Sprinkler System
SUPPLIES LIST | Winterize Your Sprinkler System
TOOLS LIST | Winterize Your Sprinkler System
STEPS | Winterize Your Sprinkler System
- Turn off water supply to irrigation sprinkler system.
Locate the main supply valve to the irrigation system and close it. My valve is located in my basement near the exterior location of the irrigation supply line and Zurn Wilkins pressure vacuum breaker valve assembly.
- Gather air compressor, hose, fittings, and tools.
Gather supplies and tools for the sprinkler blowout.
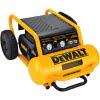
You will need an air compressor of sufficient size for your system, and an air compressor hose fitted with an adaptor to attach to your system. I used a Dewalt 4.3 gal 225 max psi 5 scfm compressor I purchase for around $350 at my local Home Depot.
An air compressor of similar size may work just fine for your system, or you could always rent a larger compressor.
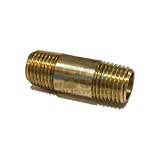
To attach the air compressor, look for the fairly standard Zurn Wilkins pressure vacuum breaker valve assembly that will have 1/4″ female NPT test cock fittings to connect to. If your system has this assembly and the attached 1/4″ test cocks, create an attachment for the air hose that terminates with a male 1/4″ pipe nipple. I added a ball valve shut off, which is optional.
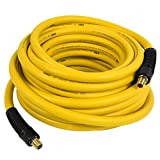
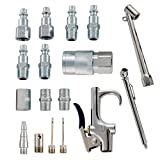
Prep the air hose with a male quick connector plug on one end which will attach to the air compressor and a quick connector female plug on the other which will connect to the 1/4″ pipe fitting/ball valve/plug on the opposite end.
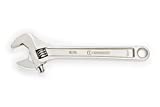
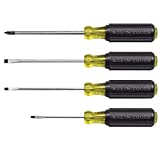
In addition to the air compressor and hose fitted to connect to your system, you may need an adjustable wrench and a slender regular screwdriver.
- Set air compressor pressure and attach air compressor to irrigation system.
Set up your air compressor to deliver a safe level of air pressure for your irrigation system. Limit the pressure regulator setting to 50 psi for systems plumbed with flexible tubing and 80 psi for those with rigid PVC pipe. I used a setting of 40 psi for my flexible tubing system.
Next, connect the air compressor to the irrigation system main supply pipe. Many systems will have a pressure vacuum valve assembly where you can connect the air compressor hose.
Other systems should have an access point close to where the system supply pipe exits your home or in an access box near this area.
If you added a ball valve to your air hose termination, keep it closed until you are ready to blowout the system.
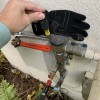
- Pressurize the system with air and cycle through each zone, one at a time.
Turn on your air compressor and allow it to fully pressurize and fill the compressor tank. You will know when the compressor tank is full when the pump stops running.
With the air hose connected to the compressor at one end and the irrigation system at the other, open any closed valves or test cocks to allow air into the irrigation system.
If your system has multiple zones and a central irrigation controller, manually activate each zone one at a time to allow the compressed air to clear the water within each zone.
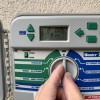
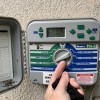
Reference the manufacturers instructions for turning on and off individual sprinkler zones. My system uses an older Hunter ProC irrigation controller that uses a dial to activate and start single zones, see the below images.
To activate an individual zone with my Hunter ProC controller:
- Turn the dial to “Manual – Single Station”
- Use the soft keys to select the station (zone) – the default will be 1. I start with 1 and move through my 9 stations (zones). Use the soft keys to select a duration of the run if desired, say 2 minutes or so or enough time to clear the water.
- With the station number and run time selected, , turn the dial back to the center top position “Run”.
- Monitor the station (zone) sprinklers, waiting for the water to clear, then turn off the station (zone) by turning the dial back to “Manual – Single Station” if clearing additional zones (stations) or “System Off” if finished.
When running air through the sprinklers within a zone (station), monitor water clearing progress closely by watching the sprinkler heads in the zone.
At first, after the zone is opened, water will run through the sprinkler heads similar to its’ normal function. After the water clears, the sprinkler heads will start sputtering and blowout only air.
Once the majority of the water has been cleared by all of the sprinkler heads within the open zone allow the air to clear the zone for an addition 5 seconds or so and then close the zone.
Repeat for each zone if multiple zones.
If you system has low-point drain valves, open them to allow any residual water to empty and close them after draining.
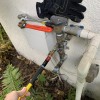
- Drain water from supply pipe to irrigation system.
Open and drain the supply water line to the irrigation system. Our system has a drain plug located at the low point of our main copper water supply line coming from the house. Make sure you have the water shut off valve closed for the main irrigation supply line, then open any drain cap and allow the residual water to drain.
Some shutoff valves used for the main water supply will have a drain vent incorporated into the valve (like hose connection valves often do), if your does, open this vent (only after the valve is in the closed position) and allow any trapped water to drain.


GIPHY App Key not set. Please check settings