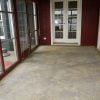
With spring right around the corner, my wife and I are focused on getting the cabin porch into shape. We are starting with the floor. The concrete floor of our cabin porch is very sloped and un-even. Before we could refinish the floor we needed to level it first.
This is an overview of how we leveled and sealed our concrete porch floor prior to refinishing it with tile.
How we leveled our uneven concrete floor cheaply prior to tiling
Leveling a concrete floor is relatively straight forward. There are several readily available floor leveling compounds that are easy to apply and use. They are also expensive and are limited in the amount of correction they can provide, generally only recommended for use of 1″ or less.
Knowing how expensive self-leveling floor products are and realizing I needed 3 inches of material in some areas, I needed consider a flour leveling solution that was economically reasonable and one that could fill in the deeper deficits I had.
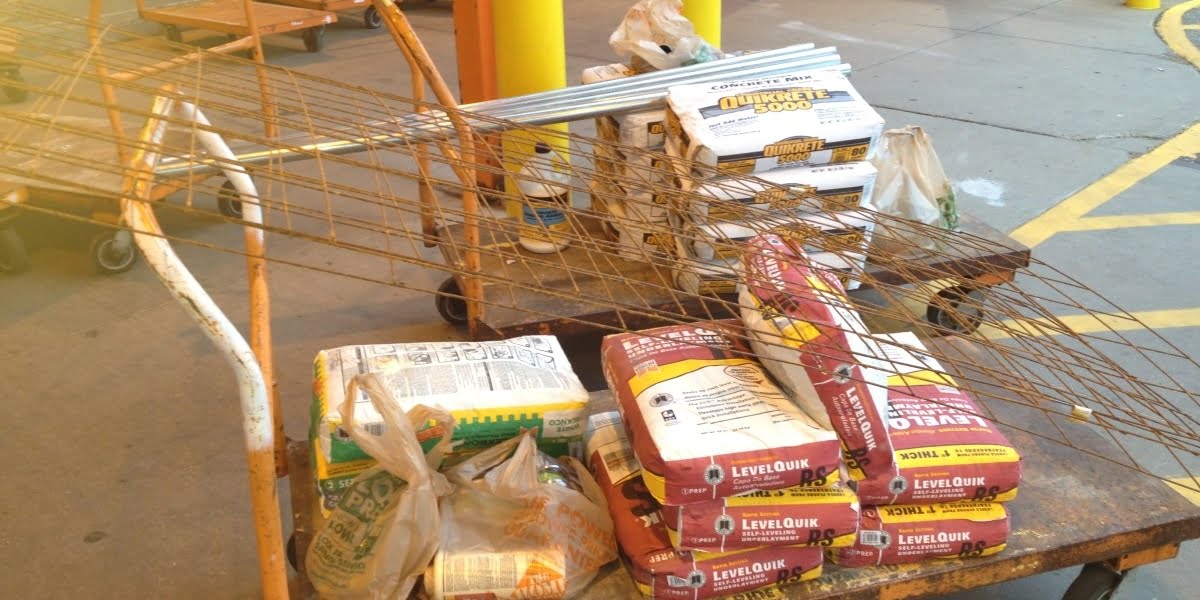
The idea I came up with was to use both conventional concrete mix (and motor mix) as a base layer, to get the floor close to level and finished with the more expensive self-leveling underlayment mix.
It is true that some of the self-leveling floor mixes can be used by themselves to level floors with an inch or more out of level, but these products are typically five to ten times the cost of traditional concrete products, making them cost prohibitive for me to use for the entire project.
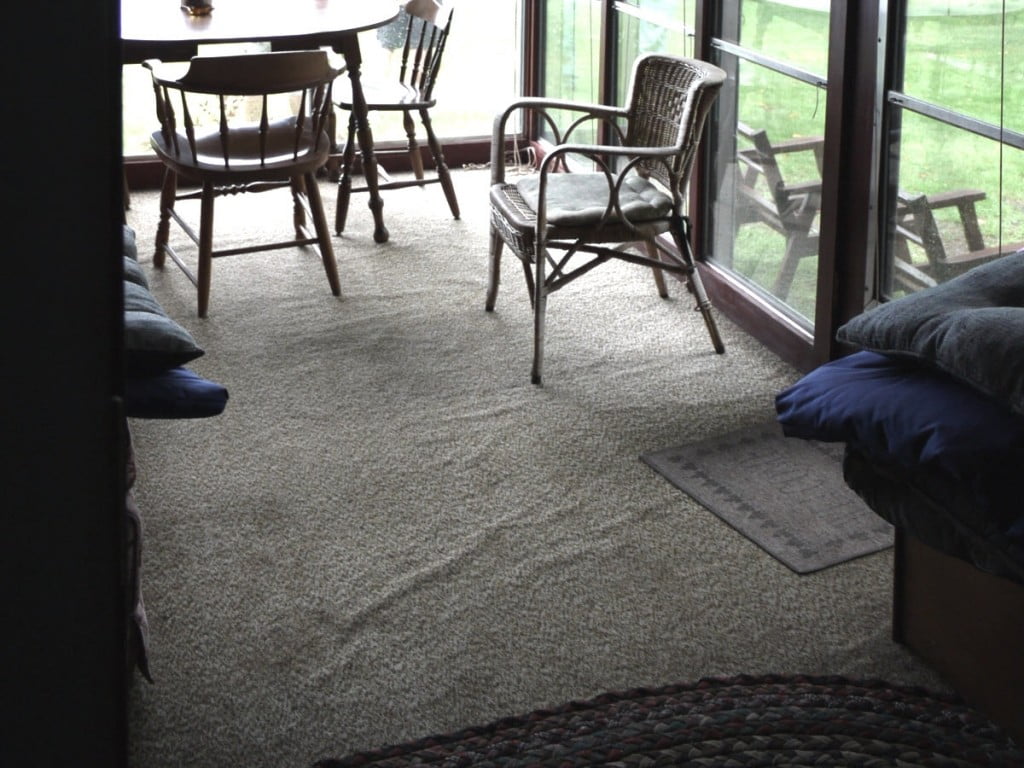
The plan is to remove the old carpet, level the floor and resurface the floor with rustic tile. We were starting with very old carpet glued to a very out of level concrete slab. Removing the carpet was fairly straight forward, it was several decades old and came up very easily. Unfortunately, the carpet glue residue left on the concrete slab was not so easy to remove.
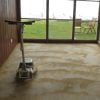
After hours of scraping at the stuck carpet glue residue, I figured there must be an easier way, and headed to the rental center at the local Home Depot. I rented a Clarke FM series commercial floor polisher. Using the brush attachment, I was able to remove most of the remaining glue residue in about 30 minutes.
Finally down to the bare slab, I was ready to get started leveling the concrete slab floor. If you look closely alone the inside wall and you will appreciate just how sloped the floor is — nearly 3″ low half way across this 12′ span! Prior to leveling the slab, you should check to be sure any structural / support issues are addressed prior to leveling the floor. Additionally, ensure that the floor to be leveled can handle the weight of the material to be added for the leveling process.
So to get started, I used premixed bags of high strength Portland cement mix (fortified and fiber reinforced) for the first layer and to fill in most of the deficits. To feather the edges of the coarse rock aggregate, I used a sand mortar mix fortified with latex. The final leveling layer used the more expensive self-leveling underlayment mix.
The results were fantastic. The less expensive concrete worked well to fill in the the majority of the low spots and allowed me to use much less of the more expensive self-leveling underlayment mix. I saved well over a thousand dollars by using this multiple material in layers technique. The trade off was time. The concrete needed 3 – 4 weeks to cure prior to applying the floor leveler, requiring over a month to complete the entire process.
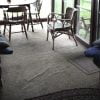
Here are some photos of the initial carpet remove and slab preparation for leveling.
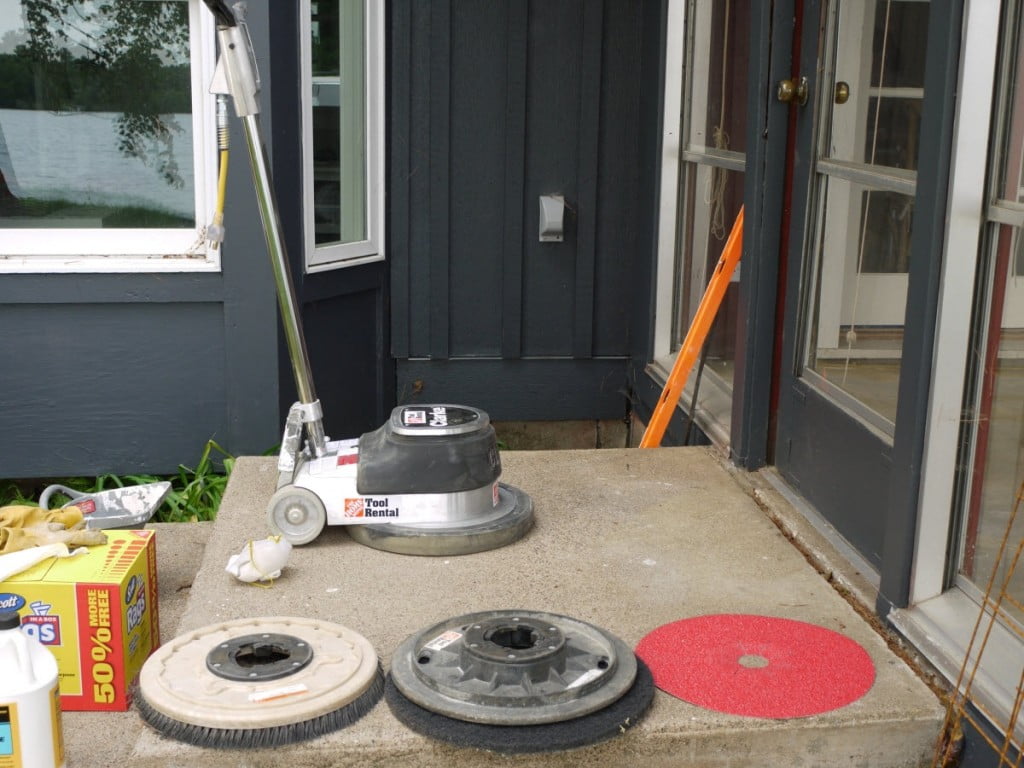
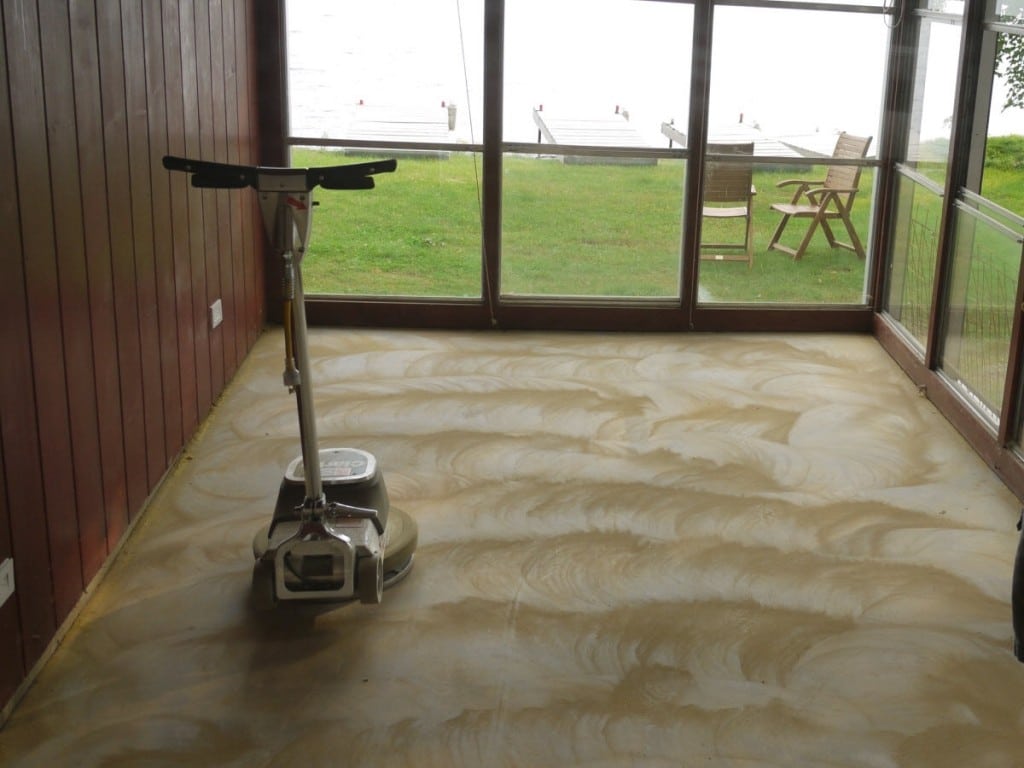
After the floor polisher did its job and freed up the old carpet glue residue, I just vacuumed up the residue. I did need to do a bit of hand removal work close to the walls and in the corners that the floor polisher could get to.
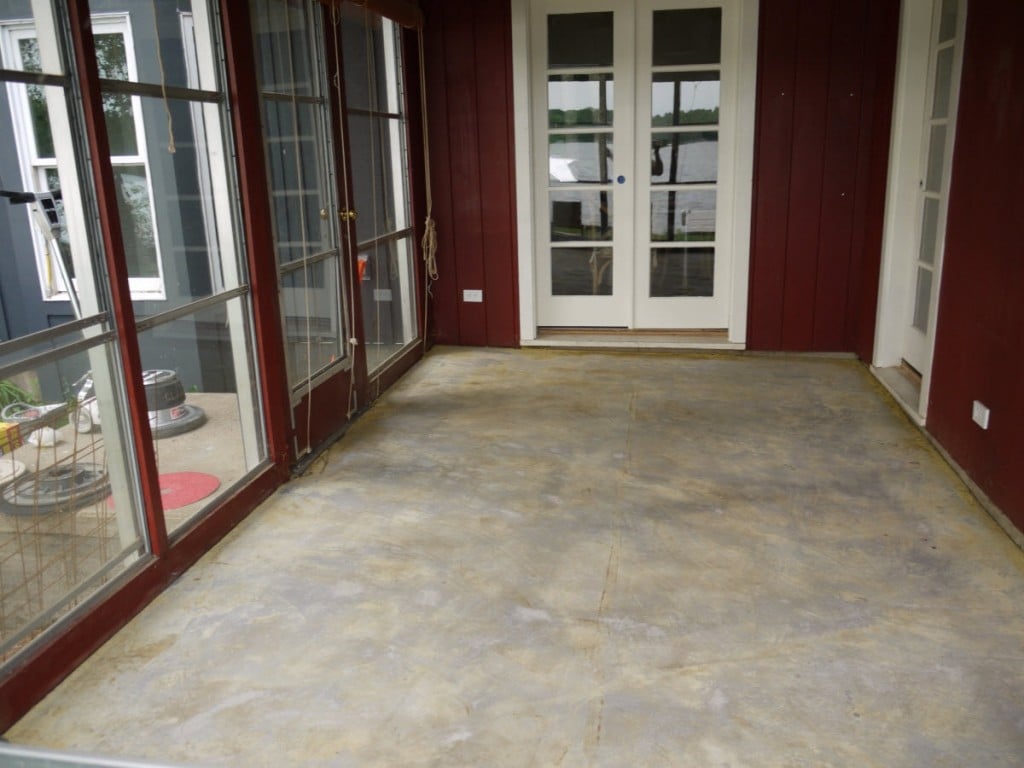
OVERVIEW | How to level a sloped concrete floor
SUPPLIES LIST | How to level a sloped concrete floor
-
 Mortar Mix
Quikrete Mortar Mix
much cheaper to get this locally with the weight and shipping costs.
-
 Concrete Mix
Quikrete Concrete Mix
much cheaper to get this locally with the weight and shipping costs.
TOOLS LIST | How to level a sloped concrete floor
-
 Floor Polisher
Clarke commercial floor machine
rent one of these if needed.
-
 Cement Mixer Direct Dump
Kushlan KPRO 350DD
Awesome tool! Rent one.
STEPS | How to level a sloped concrete floor
- Prep and clean floor
Prepare floor by clearing floor of all furniture and items. Floor must be clean and prepped according to the manufacturers recommendations of the concrete or fill product you are using.
For this project I removed the old carpet and the carpet glue/carpet backing residue with a rented commercial floor polisher (Clarke FM series). The floor was then scrubbed with a household detergent and water.
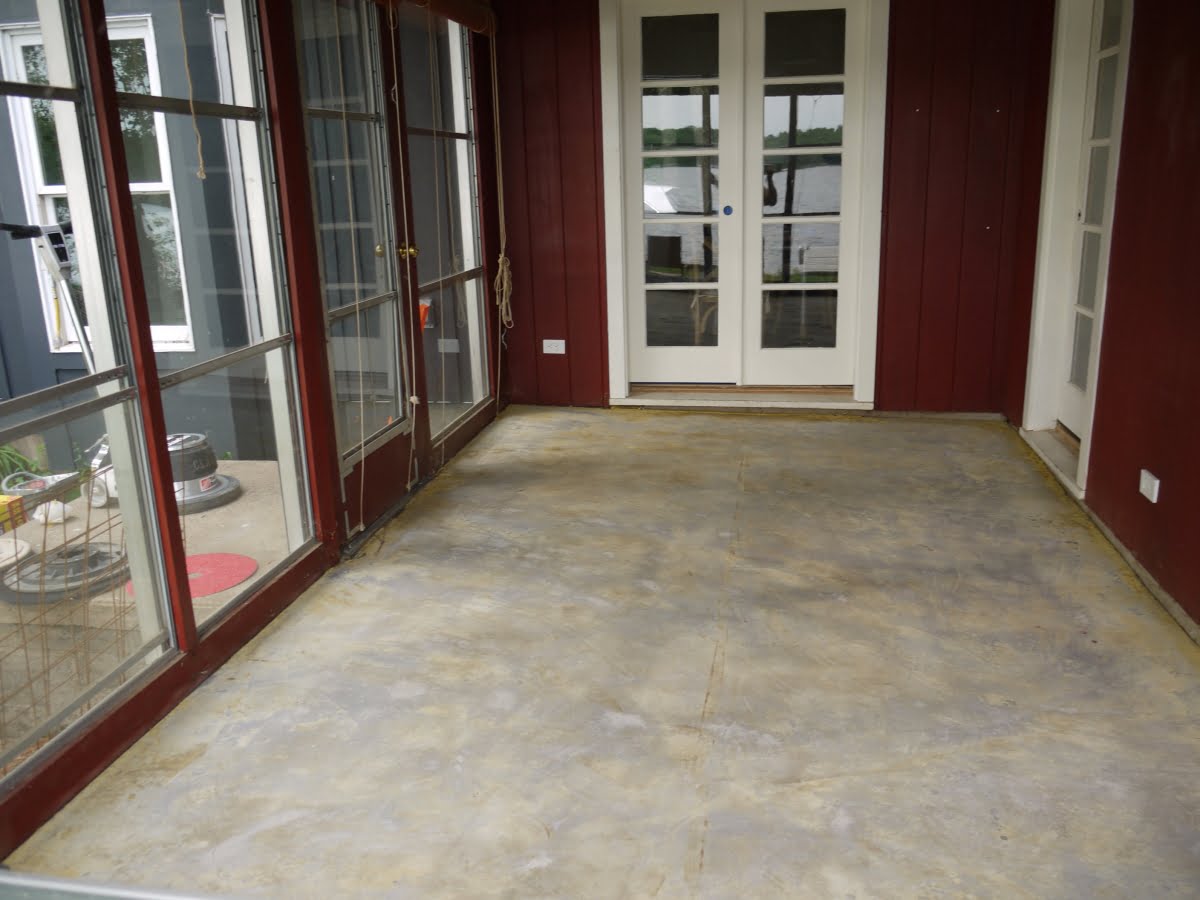
- Prime concrete floor with latex primer
To improve the bonding of the concrete patch to the existing concrete slab, prime the floor by applying a coat of latex concrete additive (Patching & Leveling Latex Additive from Custom Building Products).
I used the latex additive straight from the bottle and rolled it on with a 1/2″ nap roller. Of note, you should delay the latex additive application until you just about ready to pour your concrete patch. Bonding of the new concrete to the primed surface is best before the latex is completely dry.
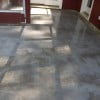
- Prepare the slab for the first layer of concrete fill
Determine the floor deficit and desired amount of fill using a level, straight edge, laser level or similar. An easy and inexpensive method is to use a string with an attached line level. Once you determine the desired floor level, create a method to mark this level and guide the concrete and self leveling mix pours. I marked the desired eventual floor level around the entire room at the wall perimeter as a reference.
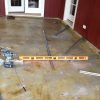
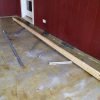
Next, I created an on-floor screed guide using angle iron mounted to the wall. I also marked the floor to indicate where fill should end if the entire floor will not be covered.
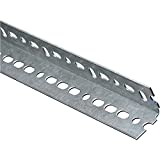
For the angle iron screed guide, I arranged pre-drilled angle iron along the floor as a reference to the desired depth of the pour and eventual surface of the concrete fill. Along the foundation wall I bolted short pieces of the angle iron to support the longer guides extending onto the slab. Once I adjusted the guides to the desired level of the pour, I secured the guides in place with Tapcon® concrete screws.
- Mix the first batch of concrete
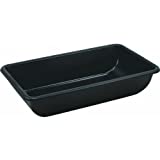
Rather than mix the concrete by hand, we rented a Kushlan electric wheel barrow style concrete mixer from Home Depot. The beauty of this mixer is the wheel barrow function that allows you to easily transport and dump each batch of mixed concrete.
Using a concrete mixer, mix the concrete by incrementally adding dry mix to the full recommended volume of water already added to the mixer. Most small mixers can easily a batch consisting of 2 bags of dry mix.
Once the water is added to the mixer, start the mixer and add one half of the concrete mix for the entire batch (example; 1 bag if total batch is 2 bags) and allow it to mix fully. Next, slowly add the remaining concrete mix (the second bag).
Once all the dry mix has been added and is fully mixed, add water to adjust the thickness of the final mix. Although a looser mix may be desired to help level the fill, remember that stiffer (less water containing) mixer cure to higher compressive strengths compared to wetter mixes.

- Place concrete mix and screed to guides
Starting with the section of floor furthest from your access, place concrete mix and screed with a long, straight 2 x 4 using the installed angle iron guides. Finishing the concrete pour surface with a fine broom finish to help with bonding of the self-leveling compound layer to be applied later.
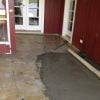
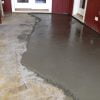
- Transition slab edges with mortar mix
Premixed concrete products contain larger aggregates like gravel or stone and generally cannot be used for material thicknesses of less than 2″.
Mortar mix, however contains no large aggregates – only sand – and can therefore be placed in much thinner applications. Thin applications of mortar can be brittle, so I added a Latex to the mortar mix by substituting 50% of the required water with a latex additive when mixing the mortar. This latex-fortified mortar mix is what I used to transition and feather the edges of our fill pour.
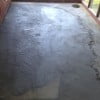
- Allow concrete fill to cure
Allow the concrete to completely cure before placing the self-leveling compound.
This generally takes at least 28 days depending on the conditions and materials used. Remember to finish the concrete pour with a broom or textured finish to improve bonding of the self-leveling underlayment mixture to be added after the concrete has cured.
- Mix and place self-leveling floor compound
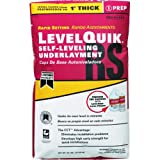
To complete the leveling process, finish the floor with a self-leveling compound. I used LevelQuik RS® from Custom Building Products.
These self-leveling products are made of a blend of Portland cement and gypsum. These compounds can be applied in a thickness of 1 1/2″ to very thin and therefore work well to provide the final, fill-in layer to level the concrete surface.
These mixtures set quickly (especially the rapid setting version “RS” I used) and therefore need to be applied in an efficient manner. To speed placement, my wife and I alternated placing and mixing 5 gallon bucket batches of the compound.
Even though these self-leveling products are mixed thin and designed to self level, I found the use of a bull float very helpful to initially spread the product just after the pour. Once spread with the bull float, the product is good at self leveling. Unfortunately I am missing images for this portion of the project.
- Allow self-leveler to set and optionally seal surface
The LevelQuik RS product I used is rapid setting and will initially dry in 4 hours. Moisture insensitive flooring like tile can be installed after this initial 4 hour period. If installing moisture sensitive flooring like wood, waiting at least 16 hours before finishing floor. Check moisture levels prior to finishing for sensitive finishes.
If your subfloor does not already have a moisture barrier (mine did not), consider sealing the floor with a paint-on waterproofing. This project involves the slab of a cabin porch that was poured in the 1950’s and likely does not have a moisture barrier layer.
Concrete is moisture resistant, but very permeable to moisture and will allow water vapor to freely move from the below soil through this slab in our porch. Adding a moisture barrier now will save us from all the evils of high-moisture living spaces later.
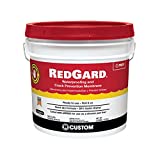
For the paint-on waterproofing barrier, I used RedGard® waterproofing and crack prevention membrane from Custom Building Products.
With the RedGard® product, the recommended technique is to apply a water diluted primer coat (1 part RedGard® : 4 parts water) to the self-leveling underlayment first, followed by at least one full-strength product coat after.


- Finish floor
Once the waterproof membrane is fully dry (12 hours), the surface is ready for finishing. We tile this floor with cement or terracotta tile over electric radiant floor heat. More later…













About to do a similar project leveling my basement floor for tile and, like you I was wondering if I could do the bulk volume of the fill with cheaper concrete mix before self-leveler.
Out of curiosity, how is this holding up? What was your final floor finish?
Thanks
Hi Travis!
It’s holding up great. We actually haven’t finished it yet – planning on tile eventually. We are waiting to finish the floor until we start a re-do of the windows for this room (porch).
I am looking into putting in new hardwood floors at my cabin. Once the tile came out, I could tell the concrete floors were not exactly level. You’re step-by-step was very fun to read and very helpful. I consider myself a handy guy, but I will probably end up getting a professional to do this part of it. Thanks for the info!
The end result looks great. May give it try next time.
Was there any wait time between the concrete mix and the mortar mix?
Hi Kim,
I waited overnight. I think you could make the argument to do it right away too. Completing the mortar edge immediately may have bond benefits with the fresh concrete. And, you can alway touch it up the next day if needed.
Gary
CDIY
Angle Iron – great method. I’m about to do an 800sq/ft basement pour (in sections) so that I can put porcelain planks on top. It was originally a 1915 pour so it needs some ‘freshening’.
I was considering how to create the screed forms when angle irons popped into my head. Googled it and here you are. great minds think alike.
I hope the Tapcons work easily. One thing I always seem to have trouble with – fastening to concrete.
Thanks-
-Josh
Hey Josh,
Good luck with the project. The Tapcon screws worked great for me, I drilled a pilot hole and had no problem. I have had issues with the screws breaking with not pre-drilling or using too small of a pilot hole.