If you own an whole house water filter, you will periodically need to replace the filter cartridges. We use a Culligan whole house “Big Blue” water filter to filter out sand and sediment from the well water. It works great, but we find the filters need replacement every 3 – 6 months.
Replacement of the whole house filters is easy, but here is a quick walk through that may help.
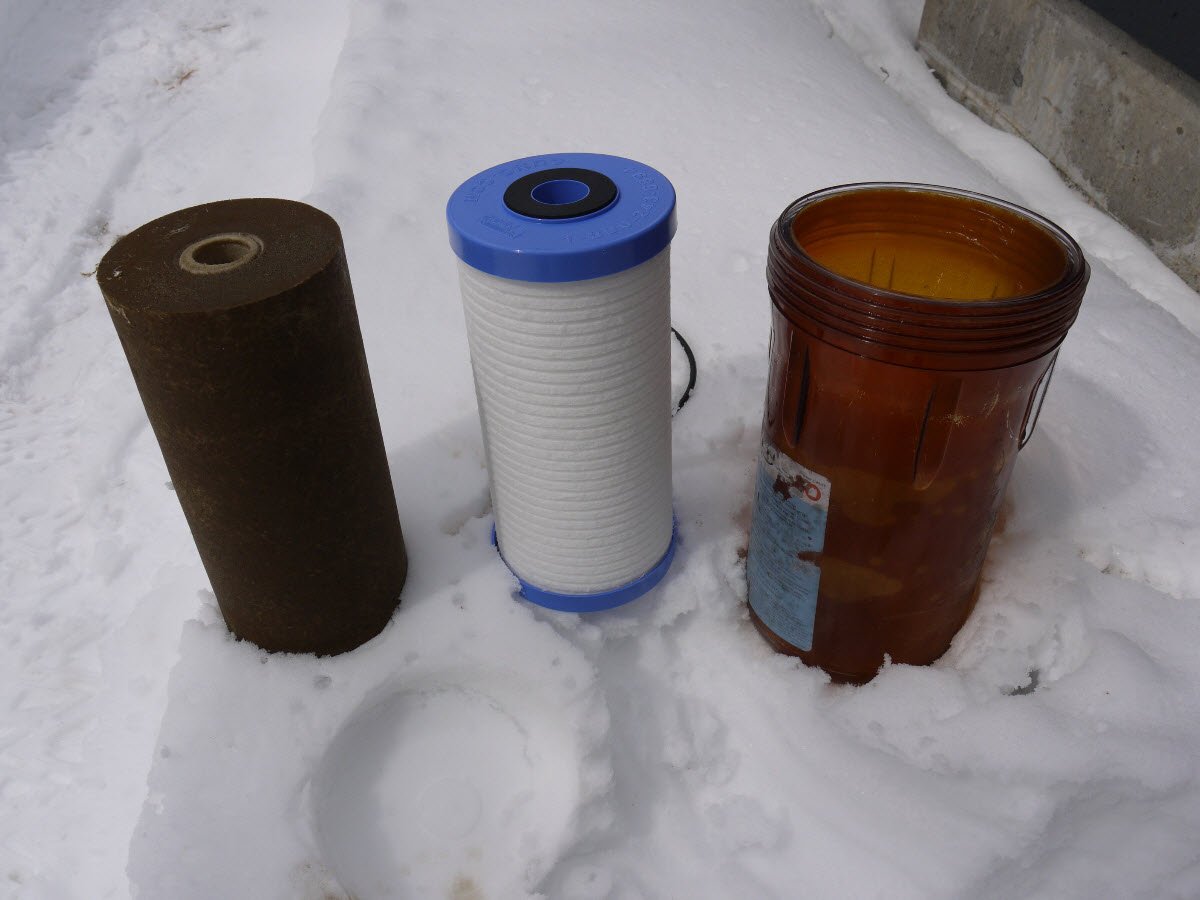
Replace the filter cartridge for a whole house water filter
OVERVIEW | Whole House Water Filter Replacement
SUPPLIES LIST | Whole House Water Filter Replacement
TOOLS LIST | Whole House Water Filter Replacement
STEPS | Whole House Water Filter Replacement
- Turn Off Water and Locate the Whole House Water Filter Unit
Find your water main shutoff and close the valve. Locate your whole house water filter and the filter housing wrench. If you have a well system, turn off the well power prior to closing the shut off valve to protect the well pump from pumping against a closed system if your main shutoff valve is ahead of the well pressure switch (just turn it off if you’re not sure).
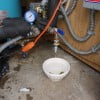
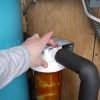
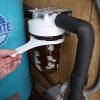
Before opening the water filter housing, drain any upstream water from the system if possible. Most water systems will have a low level drain with a valve that will allow you to empty most of the water from your system prior to opening the filter unit. Our system has a drain just below the filter inlet, making it easy to drain residual upstream water prior to replacing the filter (see below image with white bowl). If you cannot find a drain valve, a basement faucet or other low-level faucet can work to drain the system.
Any water not drained from the system prior to opening the filter will likely empty after you open the filter body. Anticipate the potential for residual upstream water and place a collection basin or similar under the water filter unit prior to opening it.
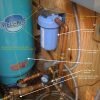
- Loosen Water Filter Housing and Replace The Water Filter
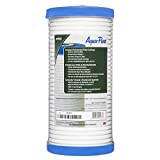
With the water shut off, the well pump shut off (if you have a well), and the system drained of immediate upstream water, unscrew and open the filter housing and remove the old filter.
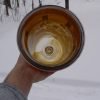
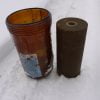
Prior to replacing the filter, clean the filter housing. Our filter housing accumulates an impressive collection of sand between filter changes. Prior to placing the new filter, I like to sterilize the housing after cleaning by wiping with a dilute bleach solution and rinsing.
I also will remove, clean and re-lubricate the o-ring at the top of the filter housing. Remove it and pull it through an damp paper towel. Lightly lubricate it with o-ring plumbing silicone prior to replacing it within the groove at the top of the filter housing.
When placing the new filter cartridge, note the filter position within the filter housing and ensure that it is centered and any gaskets on the filter cartridge are aligned properly with the filter housing.
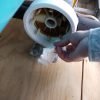
Prior to replacing the filter housing into the filter unit head, clean the groove of the filter until head with a folded damp paper towel or similar.


- Re-assemble the Filter Unit, bleed air and check for leaks
Re-assemble the filter housing into the filter unit head. Do so by carefully lining up the threads of the filter housing and fit unit head. Once the thread are engaged, hand tighten, then carefully use filter housing wrench to tighten an additional 1/4 to 3/4 turn.
The o-ring seal should seat and be slightly compressed to seal. Over tightening or tightening an un-lubricated o-ring can tear the o-ring and prevent a water tight seal. Buy replacement o-rings and occasionally replace the o-ring with the filter change.
Bleed air from the filter unit by briefly depressing the red bleed button at the top of the filter unit. Finally turn the water back on and carefully check for leaks. I like to use clean paper towel to dry the entire water filter housing, then feel for wetness and evidence of water leaks.



Hi, Im very happy coming across this informati ve site, I have a drilled hole water from which the water is pumped to a resavouir tank positioned at an height, and then piped from the tank to the house. a filter is connected between the resavoiur tank and the house, I experienced low water preasure until I remove the fillter catridge, meaning the gravitational force is not enough to push the water across the filter catridge, how best is to solve this problem, there is no constant suply of eletricity.
thanks.
Hi Adebo,
Thanks for the question. Although not familiar with your specific setup, and at risk of sounding overly simplistic; you could raise the height of your tank or change the filter system to a lower resistance system – either by trying a different filter element, cleaning the one you have (if possible) or switching to an entirely new type of filter canister and element.
Another option is to use a Well Pressure Tank. These tanks contain a pressurized air bladder that will store water under pressure for future use. You would need to have a pump that could pump the water in under sufficient pressure for this system to work.
Good luck!
Hello,
I am looking for advice. My cabin has a well with a drain back system. I want to install a Big Blue 5 micron whole house filter after the check valve and pressure switch but before the pressure tank. There is a snifter valve between the pressure switch and the pump. Goal is to keep the very fine sediment out of the pressure tank. Each time the pump starts it pushes air for about 20 seconds before water. Will the air mess up the functionality of the filter?
I would appreciate your input.
Thanks,
Vic Hovell
Hi Vic,
I’m not very familiar with snifter valve systems. I assume you have a bladder-less water tank. From my limited understanding, I believe the snifter valve allows air movement back into your water tank to maintain the air “charge” and allow the proper function of a drain back valve.
Placing a filter between the snifter valve and your well pump and drain back valve may very well cause problems, especially considering the two-way flow of water and/or air through the system. In addition, the filter represents resistance to flow and benefits from the pressurized water flow the pressure tank provides. I would install the sediment filter after the pressure tank, not before it.
Gary
I’m doing some research into what goes into a well water installation so this site has helped me quite a bit. It’s helpful to know that a house water filter would be good to have to remove sediment and other contaminants that would taint well water. I’ll need to have this installed once I have a well water tank installed.
Our cabin is on pilings and it does flood a couple times a year, what is the best way to filter water from the well to the cabin when there is very limited space? Currently there is no pre cabin filter it goes straight from the well to the cabin. We just bought this property and the neighbor says the water is very cloudy and we should consider a filter. I appreciate any help you can give me.
Hi Dennis,
Congrats on the new cabin! It sounds like you would benefit from water filtration, and maybe more than just sediment filtration.
At our cabin, we have mainly an issue with sand and other sediments. To filter these we use the whole house system described above.
In addition to the whole house sediment filter, we use a small under-counter in-cabinet reverse osmosis system for our drinking water. This system is small enough to mount in the cabinet under a sink.
The best system for your situation depends on your specific issues. If access to your water main from the well is difficult, and your are looking just for better drinking water, you could simply add one or more reverse osmosis units at the point of use (like the under sink units). Most of the these systems have a small reservoir tank that stores several gallons of filtered water. This type of system would only be useful for drinking or cooking water, as the water is not filtered in “real-time” in line, but slowly and stored in the reservoir.
If you wanted to add some limited easy to add sediment filtering in addition to the reverse osmosis unit, there are single fixture in-line sediment filters that could be used for individual applications (like at the shower head).
For your system, I would add an under the counter reverse osmosis system for drinking and cooking water to begin with. These systems are compact enough to fit most residential systems (see attached image courtesy of Omnipure) and fairly simple to install. We use a version that I purchased from our local Costco store.
I would then add a whole house sediment filter by figuring out a to gain access to your main supply plumbing from your well. You could do this by diverting the supply plumbing in to a closet or accessible area in your cabin that would allow you to add a filter and service it. You should be able to tap into your system somewhere under the cabin adding a loop up through the floor into a close or similar.
More information about your issues would be helpful. Feel free to upload an image or two if you have them.
CDIY
Did you put the filter in before or after the pressure tank? Seems to me if its after the tank, dirt will still get into the tan.
The filter is after the pressure tank. You make a good point in that the pressure tank is exposed to the sediment from well. Unfortunately, there was little room before and lots of room after the tank. Maybe this reduces the life of the pressure tank some? Maybe not?
I will have short runs of 1″ copper pipe on either side of the filter. Is the mounting bracket necessary?
Great video!
Thanks
Hi Pat,
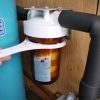
I my mind, the value of the mounting bracket is in its ability to control rotational stress when changing filters. In my experience, removing the filter housing body for a filter change requires a bit of torque and could, over time, compromise the connected plumbing.
Obviously each install in unique and will require some judgement regarding the importance of the mounting bracket.