Cold weather septic systems tend to freeze. The septic system for our central Minnesota lake cabin is no exception and has had many freeze ups in the ten or so years we have owned the property.
This year alone I have had to thaw the septic line three separate times. The problems with our septic system are common to many systems that tend to freeze; long periods of low or no use, a shallow system with little natural or applied insulation, a low-flow continuous water source (high-efficiency furnace) and bitter cold winters.
In Search Of A Permanent Solution To Frozen Septic Systems
Over the years, I’ve worked on fixing a few of the core causes (the furnace, insulation, etc.), but despite my efforts, our system still freezes in the right conditions. I recently built and installed a custom high-capacity furnace condensate pump that will hopefully help.
I have gotten fairly good at thawing the system, see my article on thawing a frozen septic line. But it sure would be nice to spend a winter at the cabin without having to worry about the toilet backing up and the drains not working!
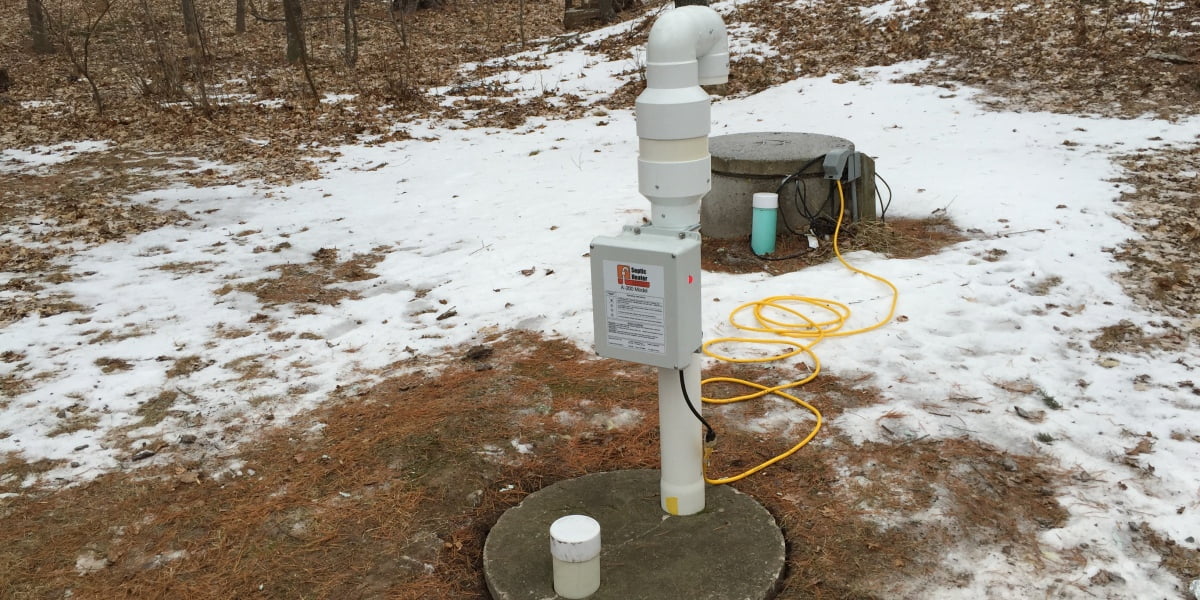
During my thawing of the frozen holding tank and septic line project, I searched for a permanent solution to the cycle of septic freeze ups and found The Septic Heater Company, and their septic heating system that uses warm air to maintain the temperature of the connected septic system and prevent freezing. It sounded great. It was also very expensive.
I happened to be a my cabin, trying to thaw out my frozen septic system for the third time that winter. I called the company and talked with the founder/owner Chris and had one delivered to my cabin the same day!
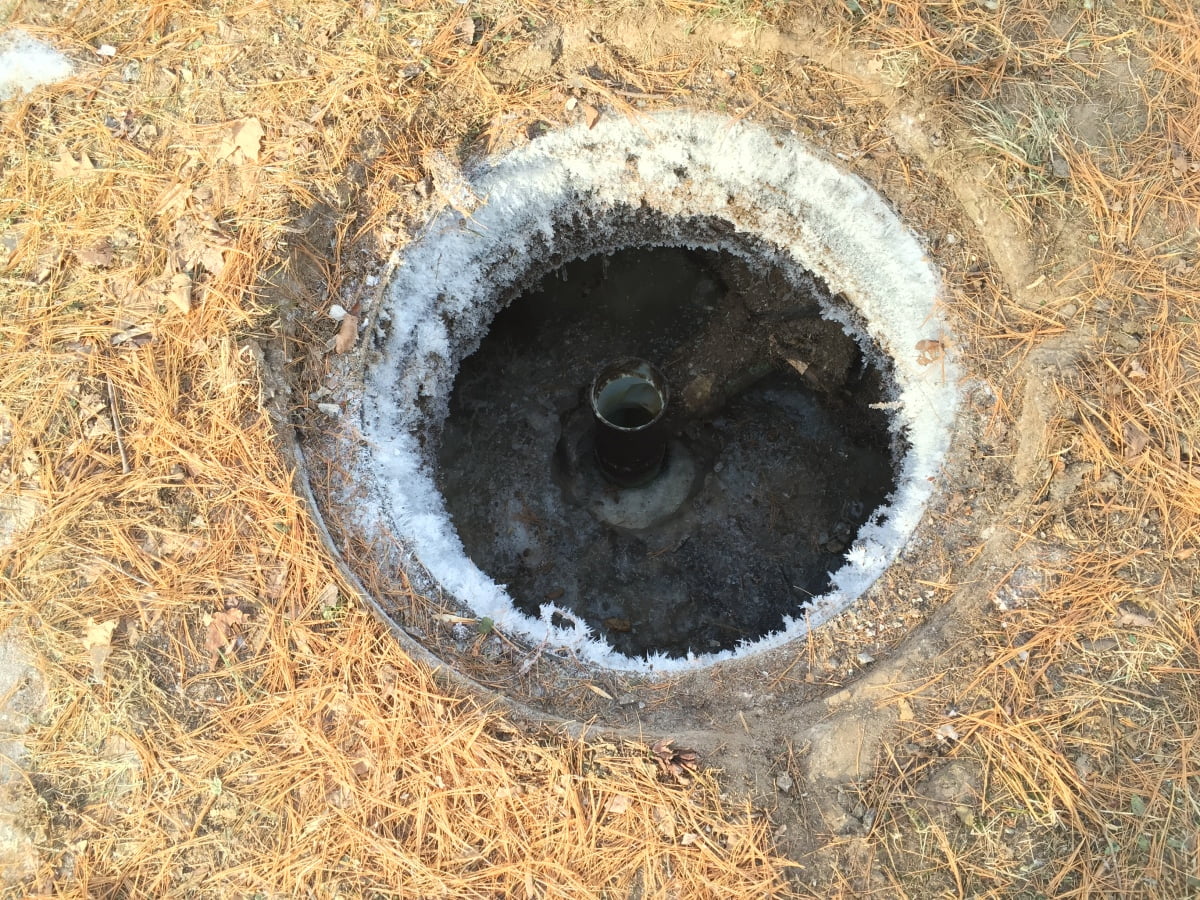
Although the Septic Heater unit was not designed to actively thaw a frozen septic system, it does have a manual setting that allows the unit to be run continuously, bypassing the internal thermostat.
So, after I got the unit I installed it and started it up. It was just starting to get dark, near dinner time.
The next day, with the unit still running, my previously frozen holding tank was nearly thawed! Later that day the entire system was ice free and I switched the unit from manual on mode to the thermostat-controlled on mode. Awesome!

Since that initial install and thaw, I’ve been using the Septic Heater unit every year, set on the automatic thermostat controlled setting. I have not had a single septic system freeze during this 5 year period of using the unit.
OVERVIEW | Septic Heater Install
SUPPLIES LIST | Septic Heater Install
TOOLS LIST | Septic Heater Install
STEPS | Septic Heater Install
- Order the A200 Septic Heater from The Septic Heater Company.
Order a the Septic Heater Model A200 (the only model the company currently sells) from The Septic Heater Company online at their website or by calling 1-888-417-3784
- Unpack and inspect unit.
The unit is shipped well packaged in a sturdy cardboard box with foam inserts. Unpack the unit and remove packaging tape from unit.
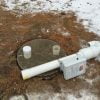
- Measure and set the depth of the thermostat sensor.
The A200 has both a manual and an automatic operational mode. The automatic mode is thermostatically controlled to keep the temperature of the sensor above 38 degrees Fahrenheit.
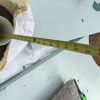
Before mounting the unit over the chosen inspection pipe, set the proper length for the thermostat sensor. The sensor is taped inside the bottom of the unit’s base (yellow tape, as seen in above image). Unroll the sensor and after determining the proper hang distance, secure excess sensor wire with a cable tie.
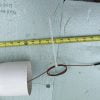
To set the proper length, first measure the approximate distance from the liquid level in the tank to the to the top of the mounting surface for the unit. Subtract 4″ from this distance, and use this distance for the length of the sensor wire.
Set the hang of the sensor and roll up the excess sensor wire. Secure the wire with a cable tie.
- Install the heater unit over a 4″ PVC pipe stub.
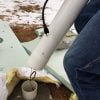
The A200 unit has a base made to fit over a standard 4″ DWV (thin wall) PVC pipe. Most inspection caps use this 4″ pipe. If your system uses a different size or type of pipe, you will need to use an appropriate adapter to mount the heater.
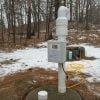
When ready, guide the sensor into the inspection pipe and mount the unit. The unit should slide over the existing pipe and settle at the base of the pipe. There are no screws or other hardware needed to mount the unit.
I admit, I was initially skeptical about the stability of the heavy A200 heating unit sitting over and supported by the 4″ pipe stub. But, after several weeks of use in rather windy conditions, the unit seems stable and has never fallen. You certainly could add some sort of stabilizing brace or a few sand or salt bags at the base for stability if needed.
- Connect the unit to power and start up the unit.
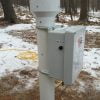
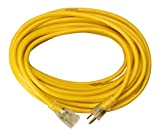
Once mounted, connect the power source to the unit. Use only an appropriately sized 15 amp or more rated extension cord designed for outdoor use.
Typically this means a 12 gauge heavy duty extension cord, depending on the length needed. Use a power outlet that will limit the run of your extension cord and avoid passing through areas of foot or other traffic.
Many septic systems will have an appropriate outdoor outlet for the lift pump if your system is so equipped. This may be a good power source for your unit, depending on the outlet size and current needs of your lift pump.
Once your unit is connected to the power, turn on the unit using the switch on the right-hand side of the unit. Turn the unit on Manual Mode. You should hear the unit’s fan turn on and feel a slight vacuum under the intake of the unit. The red light on the side of the unit should glow steady red with the unit on Manual Mode.
- Smoke test the unit and connected septic system.
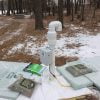
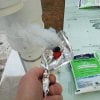
Test that the unit is pushing warm air through your septic and and drain plumbing using the smoke bomb included with the A200 Unit. The unit operates by pushing warm air into the septic system and back into your home waste plumbing. This warm air flow is then directed up through your drain plumbing vents that exit your home through your roof.
The water traps installed in your drain plumbing prevents the flow of this warm air back into your home and directs it up, through your drain venting, out of your home. The smoke test will confirm that the warm air is moving properly through your waste and drain plumbing and is safely discharged through your roof via your drain vent circuits.
The test is important. If smoke is not seen exiting your roof drain vent circuits, you may have blockage (frozen or otherwise) within your septic system or waste line that will need to be opened prior to using the A200 unit.
In addition, no smoke should enter your living space within the home. If the smoke does enter your living space, this likely means that you have a malfunctioning drain water trap (usually the trap has simply dried out and needs to be filled with water). Find the drain that is allowing the heater air (the smoke) of the home and pour water down the drain to fill the trap and seal the drain circuit.
Drain water traps work by holding a reservoir of water “trapped” in a u-shaped depression of the drain to prevent sewer gasses from moving backward into your home. In the same fashion, functional drain traps will prevent the warmed air (warm sewer air) from entering your home while the unit is in use.
Understanding the importance of functional drain traps related to the use of the A200 Septic Heater, you should add water to every drain that has a trap (they all should) to “refresh” the water level and prevent the A200 unit from blowing warm sewer air into your home. Consider the possibility of water traps drying out if your will be away for very long periods of time.
I have used the unit for several weeks while away and have not yet experienced trouble with drain traps drying out. I suspect this would be more of a problem if the unit were used continuously on manual mode.
Manual mode runs continuously at 140 degrees. Automatic mode, in comparison, runs intermittently to keep the air temperature at or above 38 degrees. I would suspect running in manual mode could dry out water traps more quickly than the running the unit in automatic mode.
Bottom line; make sure your water traps are functional and full. Laundry, in-frequently used bathroom and other low-use water traps should be filled with water periodically in any home, but especially before using this unit.


- Consider insulating your septic system.
After installing the unit, consider adding insulation over the access lid of your septic system and the ground of problematic parts of the system.
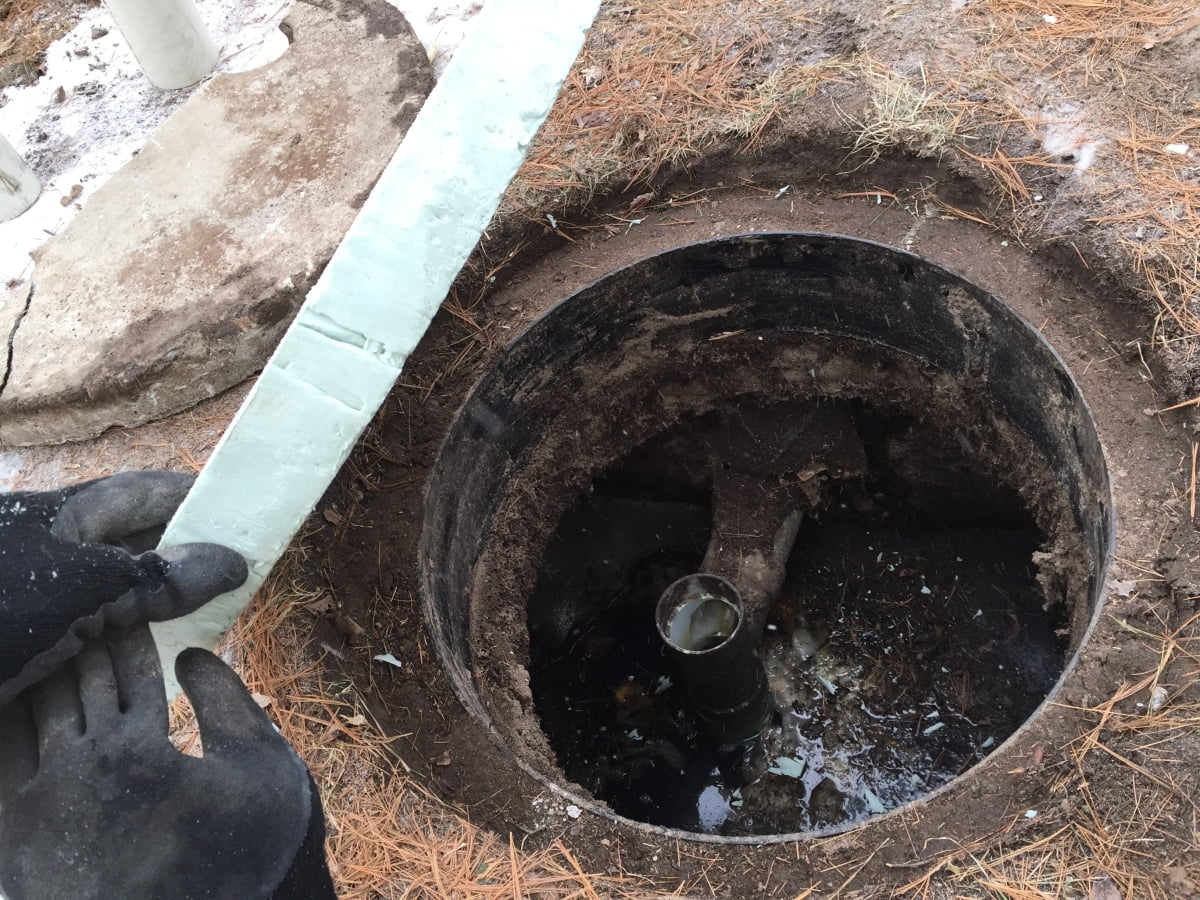
Septic line runs, holding tanks, drain fields, etc. all will benefit from adding insulation to help keep heat within the system parts.I added 2″ rigid foam board insulation over the septic line runs and under the cover of the septic tank where I installed the A200 heater.
You can use a variety of insulators. Many use straw or hay, mulch, thermal heating blankets, or similar. Any insulation you add will help the unit keep the system consistently warm and reduce the cycling of the unit and electricity use.
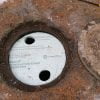
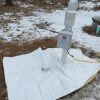
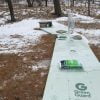
- Run the Septic Heater unit.
To use your system, switch the system off. Then unplug the system for 60 seconds. Then replug the system and turn the system on “Automatic”. The automatic mode will cycle periodically to keep the system at or above 38°.I suggest power cycling the unit before switching to the automatic mode from the manual mode (used initially for smoke testing) as the power cycle will clear the unit’s memory. This maneuver seems to prevent errors that I encountered when switching the unit from manual to automatic without power cycling the A200.
While you will use the unit in the automatic mode most of the time, I have found the manual mode very useful in clearing ice within the holding and lift tanks.
The unit is not designed specifically to thaw frozen septic lines or tanks, but obviously a continuous stream of 140° warm air blown into a frozen septic system will help.
In fact, when I initially installed the unit my holding tank was frozen solid. I set the unit up, insulated over it and ran it for a day and a half in manual mode. After this, the holding tank was mostly thawed!
After this initial use, I ran the unit for the next two weeks while I was away from the cabin, in automatic mode. When I returned, the septic was working properly and had not frozen while I was away (like it did twice in the weeks before I installed the unit).
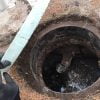
But, I did notice the water level in my lift tank was high (the lift tank level alarm went off). I pushed back the cover for the lift tank and could see that the contents were frozen. I tried manually operating the lift pump, and I could hear it running but it was unable to empty the mostly frozen contents.
Knowing the holding tank (where I have the A200 unit mounted) is directly connected to the lift tank, I figured I could thaw the full and iced lift tank by running the A200 again in manual mode.
I did so, running the A200 in manual mode overnight and the next day the lift tank was mostly thawed. I was then able to run my lift pump manually (by plugging in the pump directly to the outlet and removing the piggyback connection) and pump out nearly all of the trapped water in the lift tank! Sweet!
So, the A200 works well when run in the automatic mode. But it is also a very powerful tool in the manual mode. The primary area under the A200 will stay frost free. Depending on your problem area, you should mount your unit above this area if possible. More distant regions of your septic system may still ice up (as did my lift tank), but you can then run your A200 in manual mode as needed to add more heat to the system and thaw frozen areas.

FOLLOW UP | Septic Heater Install
Some Things to Help Avoid Septic Freezing
Preventing A Frozen Septic Line
- Ensure adequate natural insulation over pipe run.
- Do not remove or compress snow over septic area (do not drive over or plow over septic system), snow has an r-value of 1 or more per inch of snow (12″ of snow = R-12+).
- Add layer of straw (R-1.5 per inch) or wood mulch (R-1 per inch) over pipe run and other areas of septic system or plant grass, vegetation in bare dirt areas over septic system.
- Add a layer or two of foam board insulation (polystyrene is R-5 per inch).
- Avoid compressing dirt over septic line (cars, atvs, etc) as compressed ground freezes deeper.
- Add insulation over and around septic system / line.
- Add 2 – 4″ of rigid foam insulation around septic lines, and over holding tank with over lapping edges (polystyrene is R-5 per inch). Use water softener salt bags, sand bags or bags of landscaping pebbles to hold down.
- Fix or Avoid continuous, low-flow water sources emptying into septic line.
- Fix leaking faucets, fixtures.
- Consider options for draining furnace condensation water.
- Use the system regularly during cold months.
- Regular use flushes the system and add heat to the system.
- Normal bacterial activity generates heat in holding tank.
- Use the system regularly during cold months.
- Regular use flushes the system and add heat to the system.
- Normal bacterial activity generates heat in holding tank.





GIPHY App Key not set. Please check settings